
no. we don't do that here.
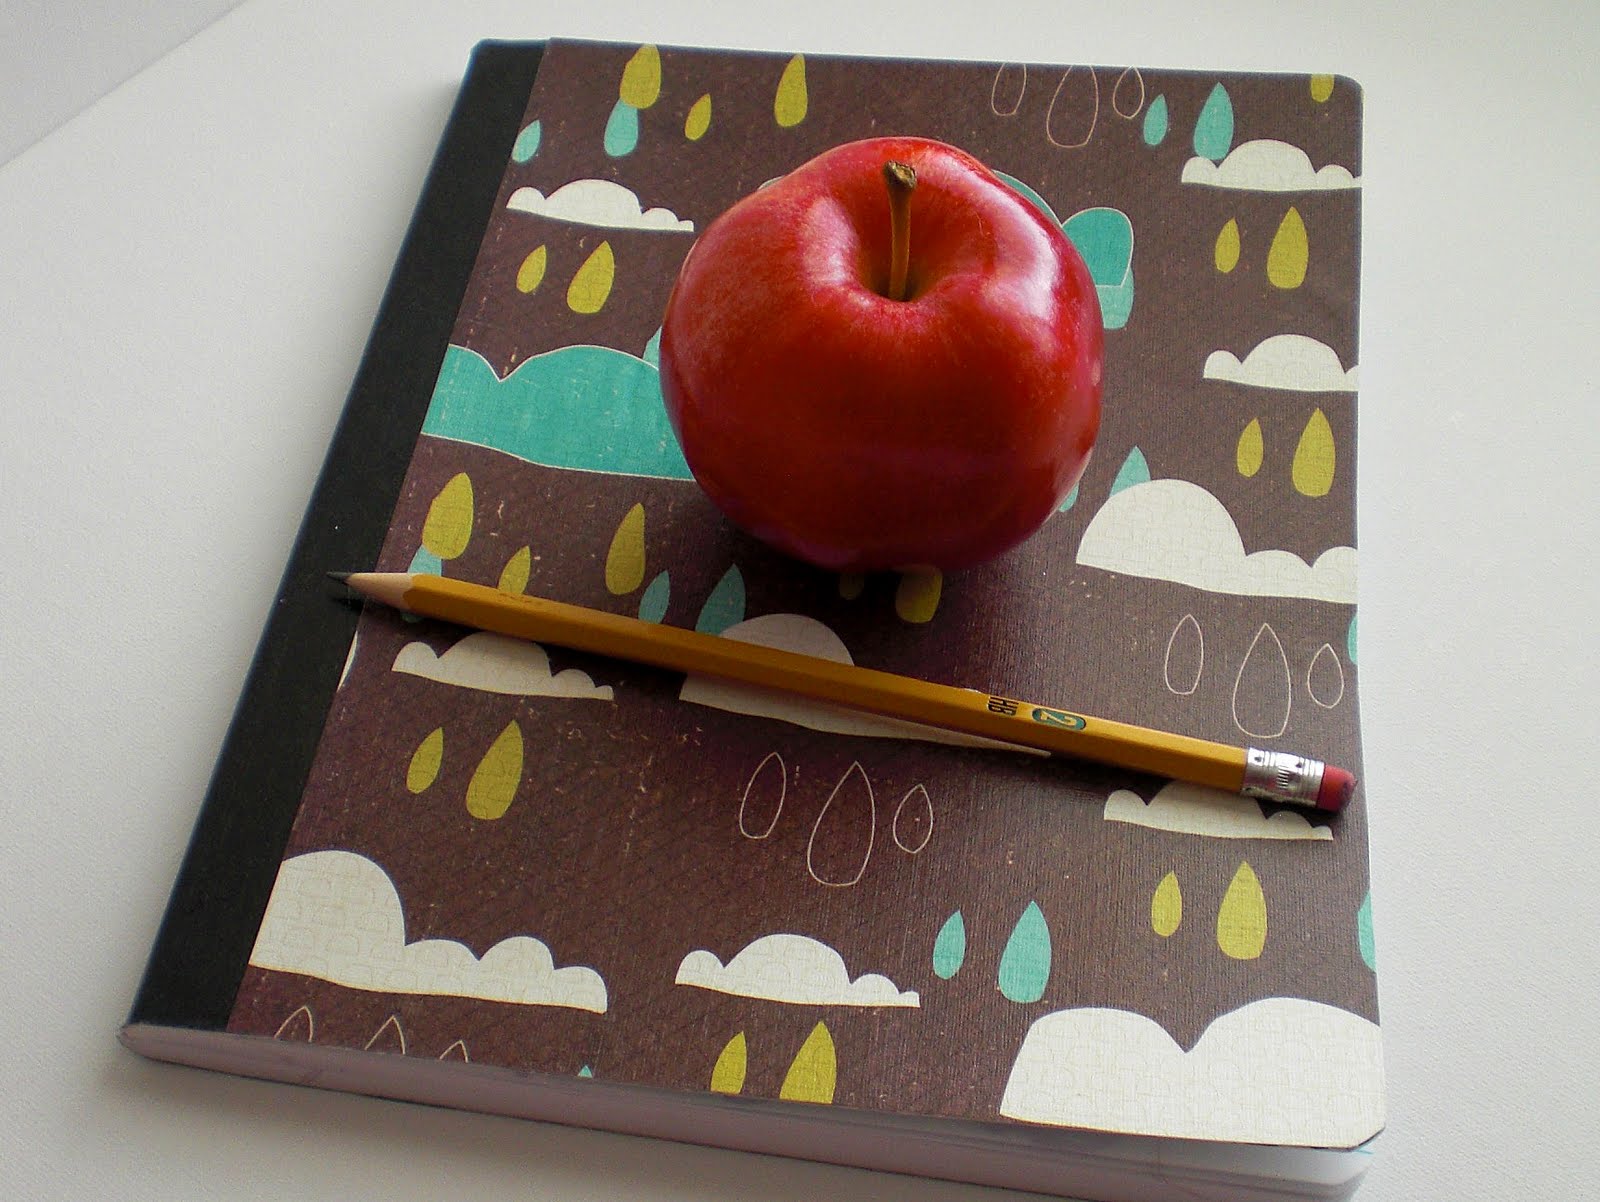 so i dressed it up. It goes really quickly {if you are not trying to photo journal it} and you can do a bunch at once. Did someone say teacher gifts for Christmas? Yes. I think I did!
 You will need:
a boring, ugly composition notebook
two sheets of scrapbook paper
{one for the front, one for the back}
Mod Podge
a foam brush
a scraper or squeegee of some kind
and {not pictured} painter's tape
 Place the notebook right side up. Place your scrapbook paper - also right side up - on top of the cover and butt the edge up to the spine. Secure with a strip of tape.
 Open the front cover of the notebook. Now your paper should be right side down with the front cover on top of it. Trace around the edge of the notebook onto the paper.
 Carefully remove the tape and cut out the paper just inside the tracing lines.
 Open the notebook and lie it on a work surface, spine up. Move all the pages to rest behind the back cover for now. At this point I like to cover my work surface with newspaper or something.
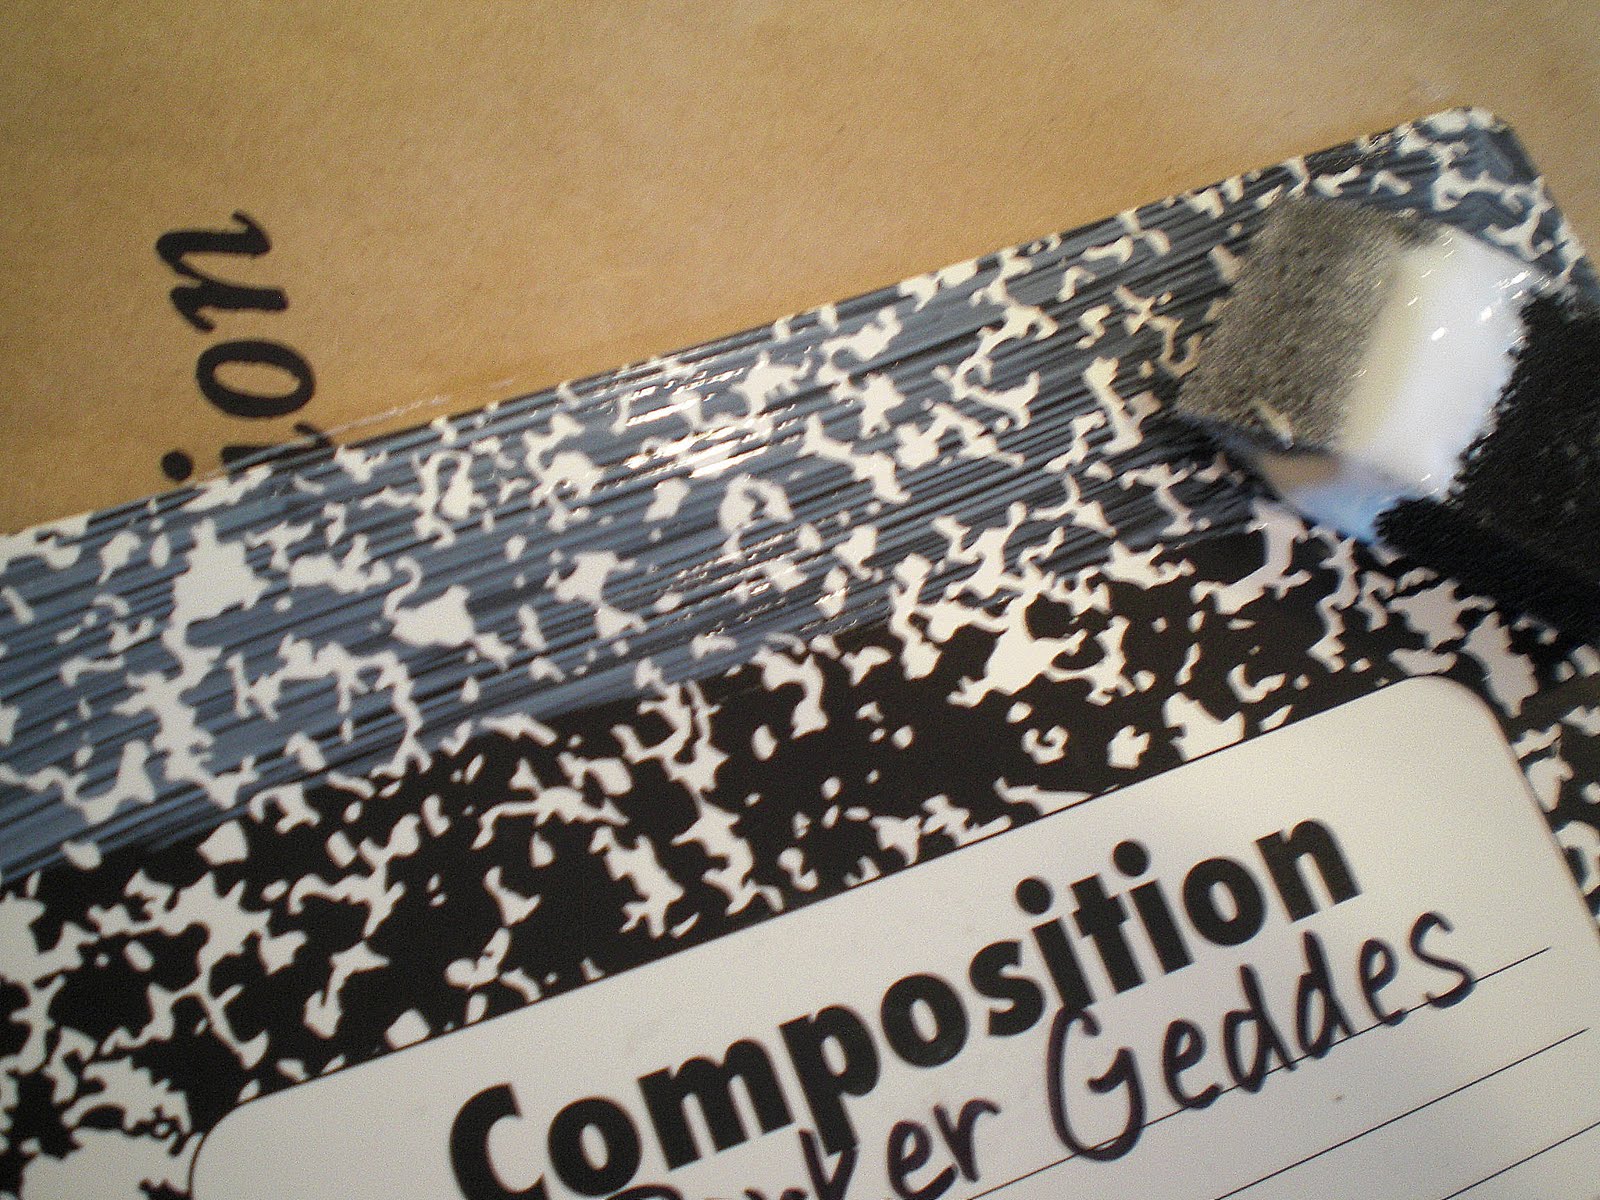 Using your foam brush, apply a moderate strip of mod podge to the top edge of the front cover. Careful not to apply to liberally or will creep over the edges. Too thin, and you won't have good adhesion.
 Now align your scrapbook paper -still right side up - with the top edge of your cover. Do a quick smooth over with your hand.
 Working from the top to bottom, one section at a time, apply a strip of mod podge and then smooth the paper down over it until the whole cover is, well . . . covered.
 Now get out your squeegee and smooth out any bumps. {i picked mine up at a craft store for a couple of bucks and i use it for everything!} don't press too hard - you could tear the paper. and i like to keep a damp paper towel handy to wipe any excess glue off my squeegee as i go.
 Turn your cover over and trim off any excess paper.
 Turn the cover back over and apply a thin even layer of mod podge to seal it. i find if there are any small bumps at this point they usually smooth out as your paper dries. use can also layer a label or embellishment once it's dry and do a second coat of mod podge over it.
Allow to dry completely before you do the back cover.
 There! much more fitting for a disaster boy. i couldn't find any tornado or lightning bolt paper though, which is weird because natural disasters are synonymous with scrapbooking. o well. he loves it.


I found this informative and creative
ReplyDelete