fan club

Thursday, January 26, 2012

Book Club

I like living nestled up to the mountains. I like families of deer passing through my yard and spotting rams on the foot hills when we drive to school in the morning. But I don't like not having a library. I especially don't like paying $80 to use the library less than ten minutes from my house. But I paid it. so Caden could go to story time. (apparently the library is getting wise to freeloaders and is now registering for story time.) Now to make the most of my recent purchase, I am going to review some of the books we check out.

I always go with 3 tried and true books from my youth, one for Judey, and then I let Caden peruse the shelves and pick the one that catches his eye. And so far, he has done well!
Tudley Didn't Know by John Himmelman. A most darling book about a turtle unaware of his limitations. I love the message it teaches kids - you can accomplish more than common belief. The illustrations are beautiful and the biology section in the back is a plus!
I Used To Be the Baby by Robin Ballard. I know we all have read make way for baby books, but I felt this one was different. It focuses less on the displacement of the older child, and more on his new important role as big brother. With specific scenarios where he can be involved, each presented an opportunity for discussion that Caden was a willing participant in! Reading this was eery. Like Robin Ballard has been peeking through our windows, pen to paper. But Caden adored it.
well, I'll be back with more goodies for you to check out with your little ones.

Wednesday, January 25, 2012

Kelsi's Shower

Liam Bennet Nevin is my new honey.
He asked that I post pics of his baby shower since he is 2 weeks old now.

and since I actually had someone take photos for me this time...I should!

Here is sweet Mama.

We had blank onesies and assorted appliques.

the results were adorable.


Tip: always have the comfiest seat in the house reserved for the lady of honor.
and position it next to the gifts.


we had blonde mustache pops for Kelsi.
a friend let me borrow her candy mold. but you can buy one here.


the after party.

Saturday, November 26, 2011

Garbage for Christmas


wrap odd shaped gifts in empty food boxes. Caden may be disappointed when he opens his box of fruit snacks and doesn't find any.

Monday, October 31, 2011

Madame Geddes' guide to perfect children

Do you find that your children often behave like monsters? These easy to follow guidelines will have your youngsters on their best behavior in no time!


1. Observe an early bedtime. A child who is up all night is prone to a cranky disposition.

2. Spend quality time with father. Children need a male figure to set a disciplinary tone in the household.


3. Provide proper nutrition. A balanced diet will produce a balanced demeanor.


4. Don't suppress laughter. Playtime is also essential to release a child's extra energy, encouraging obedience in turn.


Yes, at times exercising constant discipline can be draining,

but the reward of seeing your little monster turn into a little angel is well worth the effort.

HAPPY HALLOWEEN!

Thursday, October 27, 2011

McDonalds


A couple of months ago, I took the boys to our McDonalds to eat and play. After maybe half an hour of the play land, Caden came down with very wet clothes. It always bugs me when people let their kids take food in and I assumed someone spilled a drink. Not long after a girl emerged with a pee spot on her pants. She told her family she'd had an accident. That's when I looked up at the equipment. The slide was DRIPPING. I could not have been more disgusted. I yanked Parker out of there (also wet) and we went straight home for a shower.

Before we left, I told the employees it needed to be cleaned and wondered if it actually happened. Then just today I saw this clip that made think about it:

http://youtu.be/kd66jVtQURw
(sorry, they won't let me embed.)

Needless to say, I am totally grossed out. We don't eat there that often, and our McDonalds is still new and I'm sure doesn't have as many problems as these Phoenix ones do. Still - I will definitely be more cautious.

Ew.

P.S. This clip is little old. No improvements were made to the play equipment, and Erin Carr Jordan has since been banned.

Saturday, October 8, 2011

nifty notebook

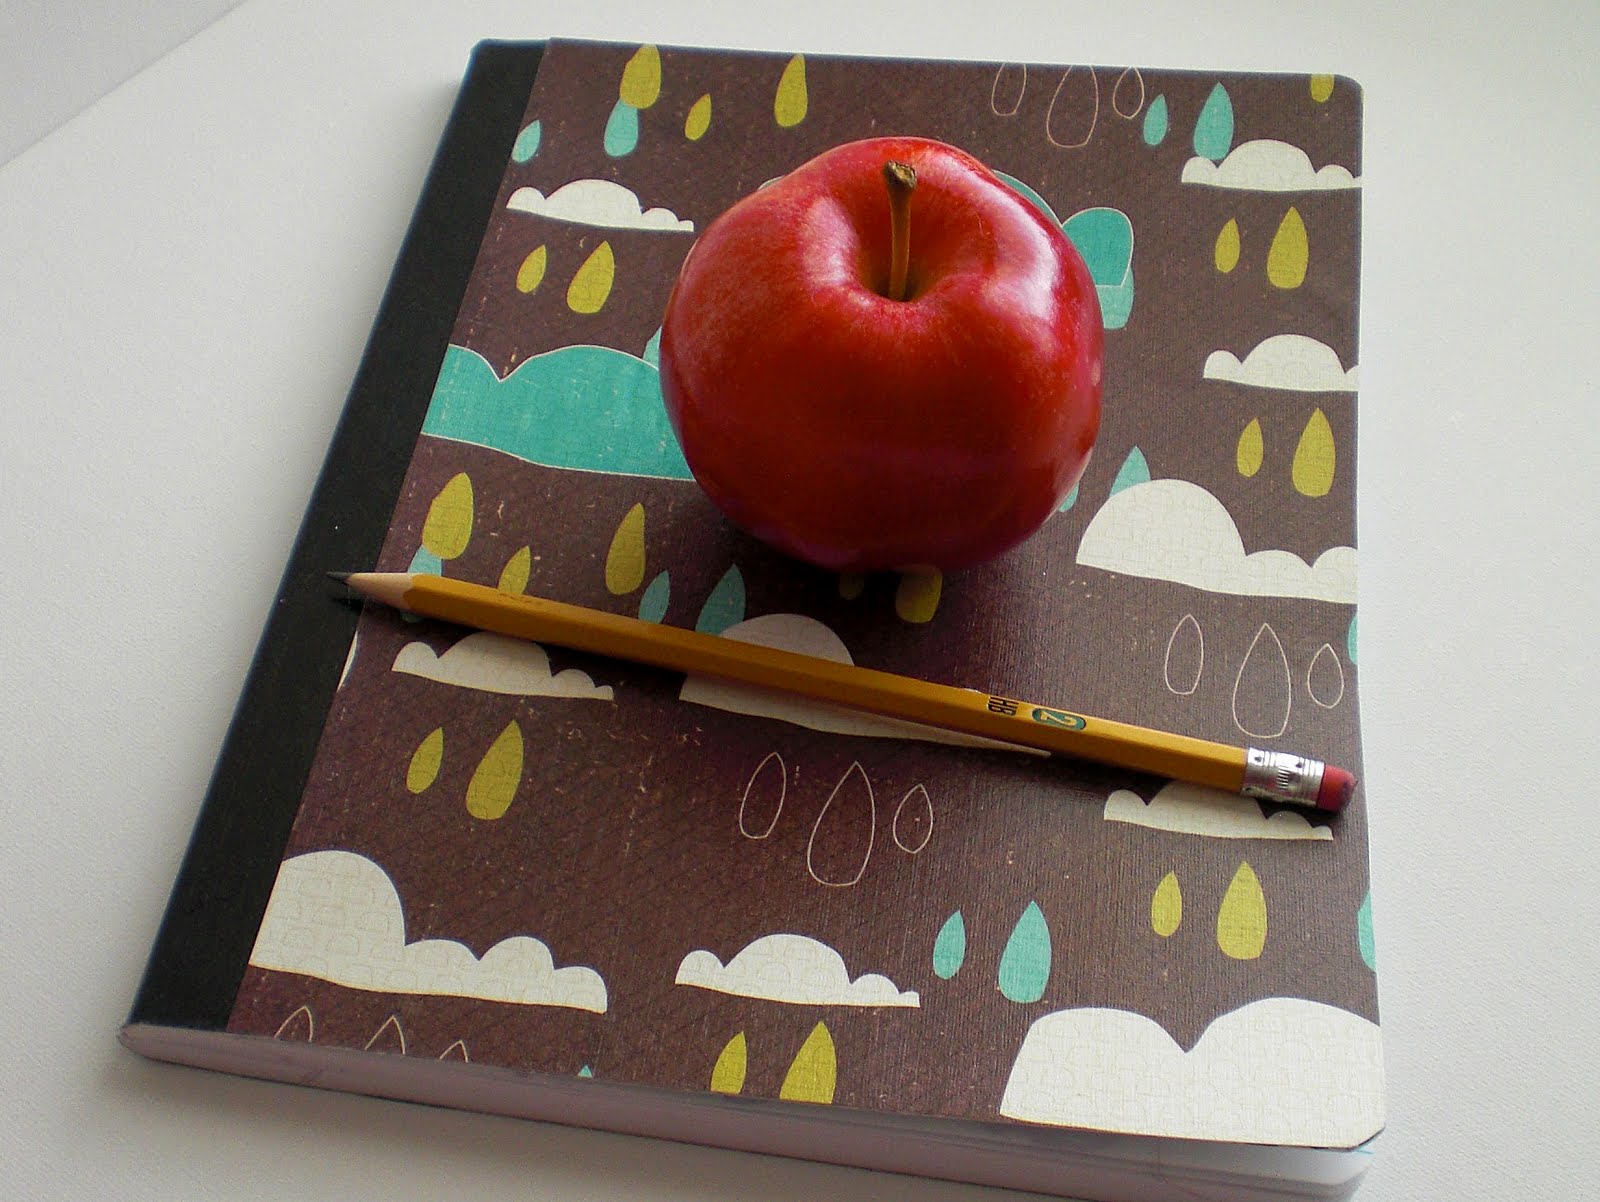
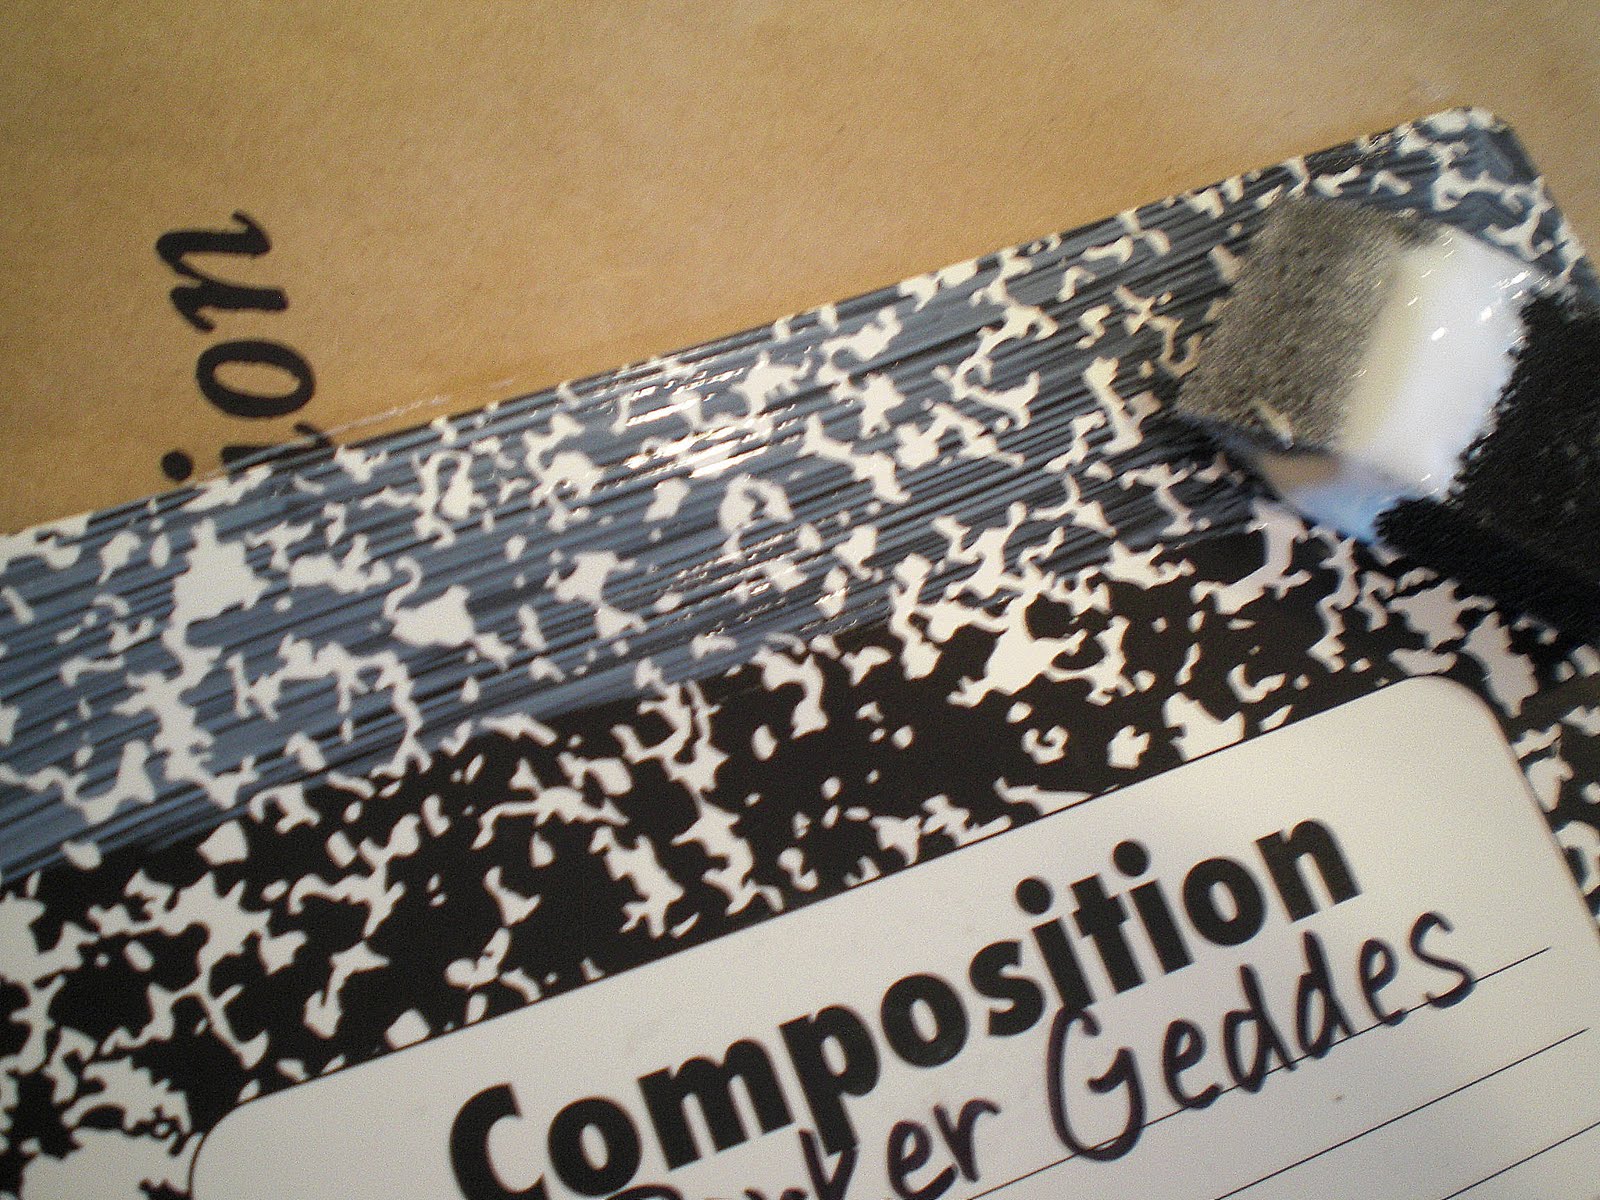
Well in case you haven't noticed, school is in full swing! And for his homework journal, Parker was given a plain composition notebook.

no. we don't do that here.

so i dressed it up. It goes really quickly {if you are not trying to photo journal it} and you can do a bunch at once. Did someone say teacher gifts for Christmas? Yes. I think I did!


You will need:
a boring, ugly composition notebook
two sheets of scrapbook paper
{one for the front, one for the back}
Mod Podge
a foam brush
a scraper or squeegee of some kind
and {not pictured} painter's tape


Place the notebook right side up. Place your scrapbook paper - also right side up - on top of the cover and butt the edge up to the spine. Secure with a strip of tape.


Open the front cover of the notebook. Now your paper should be right side down with the front cover on top of it. Trace around the edge of the notebook onto the paper.


Carefully remove the tape and cut out the paper just inside the tracing lines.


Open the notebook and lie it on a work surface, spine up. Move all the pages to rest behind the back cover for now. At this point I like to cover my work surface with newspaper or something.


Using your foam brush, apply a moderate strip of mod podge to the top edge of the front cover. Careful not to apply to liberally or will creep over the edges. Too thin, and you won't have good adhesion.


Now align your scrapbook paper -still right side up - with the top edge of your cover. Do a quick smooth over with your hand.


Working from the top to bottom, one section at a time, apply a strip of mod podge and then smooth the paper down over it until the whole cover is, well . . . covered.

Now get out your squeegee and smooth out any bumps. {i picked mine up at a craft store for a couple of bucks and i use it for everything!} don't press too hard - you could tear the paper. and i like to keep a damp paper towel handy to wipe any excess glue off my squeegee as i go.


Turn your cover over and trim off any excess paper.

Turn the cover back over and apply a thin even layer of mod podge to seal it. i find if there are any small bumps at this point they usually smooth out as your paper dries. use can also layer a label or embellishment once it's dry and do a second coat of mod podge over it.

Allow to dry completely before you do the back cover.

There! much more fitting for a disaster boy. i couldn't find any tornado or lightning bolt paper though, which is weird because natural disasters are synonymous with scrapbooking. o well. he loves it.

Wednesday, October 5, 2011

le dress

well it's been over a month now. and to answer how did the dress turn out? {which i've gotten more than once.} i am posting some pics of the little Grecian number.


my new sister-in-law Kelsi. I hope she doesn't hate this picture because i think she looks adorable. and who can blame a girl for posing coyly after her millionth serious picture was snapped? {waiting patiently to see those serious photos!}

Tuesday, September 27, 2011

Lacey Headbands

I realize it doesn't take a rocket scientist to figure out how to make a headband. But I flatter myself to think that maybe someone out there could use my own tips for the pretty pretty head candy.

First start with an arsenal of lace and ribbons. I feel this is something one should have on hand at all times. Like you would milk or toilet paper. Press them with an iron on medium heat. You may also want some other tools like Fray Check, Horsehair braid, pins and a hot glue gun.


Cut the ribbon. I cut two main pieces: a top piece {the feature} and a bottom piece {the worker}. Cut the top piece 9" long and the bottom piece 18" long. You can adjust these lengths depending on your head size if your worried about fit. I cut the 'feature' ends straight across and the 'worker' ends at an angle.


Now don't be worried if the ribbon you love is wired. After cutting to size, press on on the corners until you feel the poke of the wire end. Grasp the tip of wire and pull back the ribbon to expose it. {tweezers help a lot} When you've got more than an inch exposed, wrap it around your finger and yank!


After cutting your ribbon lengths, {and ridding yourself of that pesky wire} apply fray check to the ends and allow to dry.


Now have some fun layering laces and other edgings to the back of your 'feature' ribbon. Apply a thin ribbon of hot glue and place your lace so it will peek out when the 'feature' is flipped back over. Trim to fit after applying. I also use popsicle stick to press down the lace and spread out the glue while it's still hot so it's not lumpy when it dries. {what you have to eat to get that popsicle stick is totally up to you.}


Fold each of your ribbons in half {both the 'feature' and the 'worker'} and pin the center of each.


Layer the ribbons on top of each other, matching up the center pins. The 'feature' should be on bottom and the 'worker' should be on top. Make sure both ribbons are laying pretty side down. Then fold back one half of the 'worker', apply your hot glue to the back of the 'feature' and place the lifted half back down. Do your popsicle stick trick. Repeat on the other half.


Flip over to right side up. Glue a small strip of your lace over the edge to clean up the look. Trim to fit.


Another option is to wrap a thin ribbon around both the 'feature' and 'worker' and secure with glue in the back.


If you have a pretty lace that's perfect without edging, but is too delicate, horsehair braid will help. It's a flexible, woven, nylon braiding that is semi sheer. It comes in white or black and varying widths. It's woven on the diagonal so it's width can also change when pulled or pushed - think chinese finger trap.


If you are using horsehair braid, you will have to do a little hand sewing. Pin the braid to the back of your lace and stitch it on using matching thread and small stitches. Careful not to pull your thread too tight because it will pucker your lace. I don't recommend machine sewing for the same reason.

The end of horsehair is very pokey. Use a scrap of ribbon to fold over the ends of the 'feature' and glue to the front and back.


Your headbands are done now. And because they tie on to your head they look just as pretty from the back as they do the front. Tie a few onto a card and give as gift. They even look good enough to not wrap.


and then give them to that cute little pixie you know for her 30th birthday.


yup. adorable.